Magic Receipts
This page describes what Magic Receipts is and how to set it up.
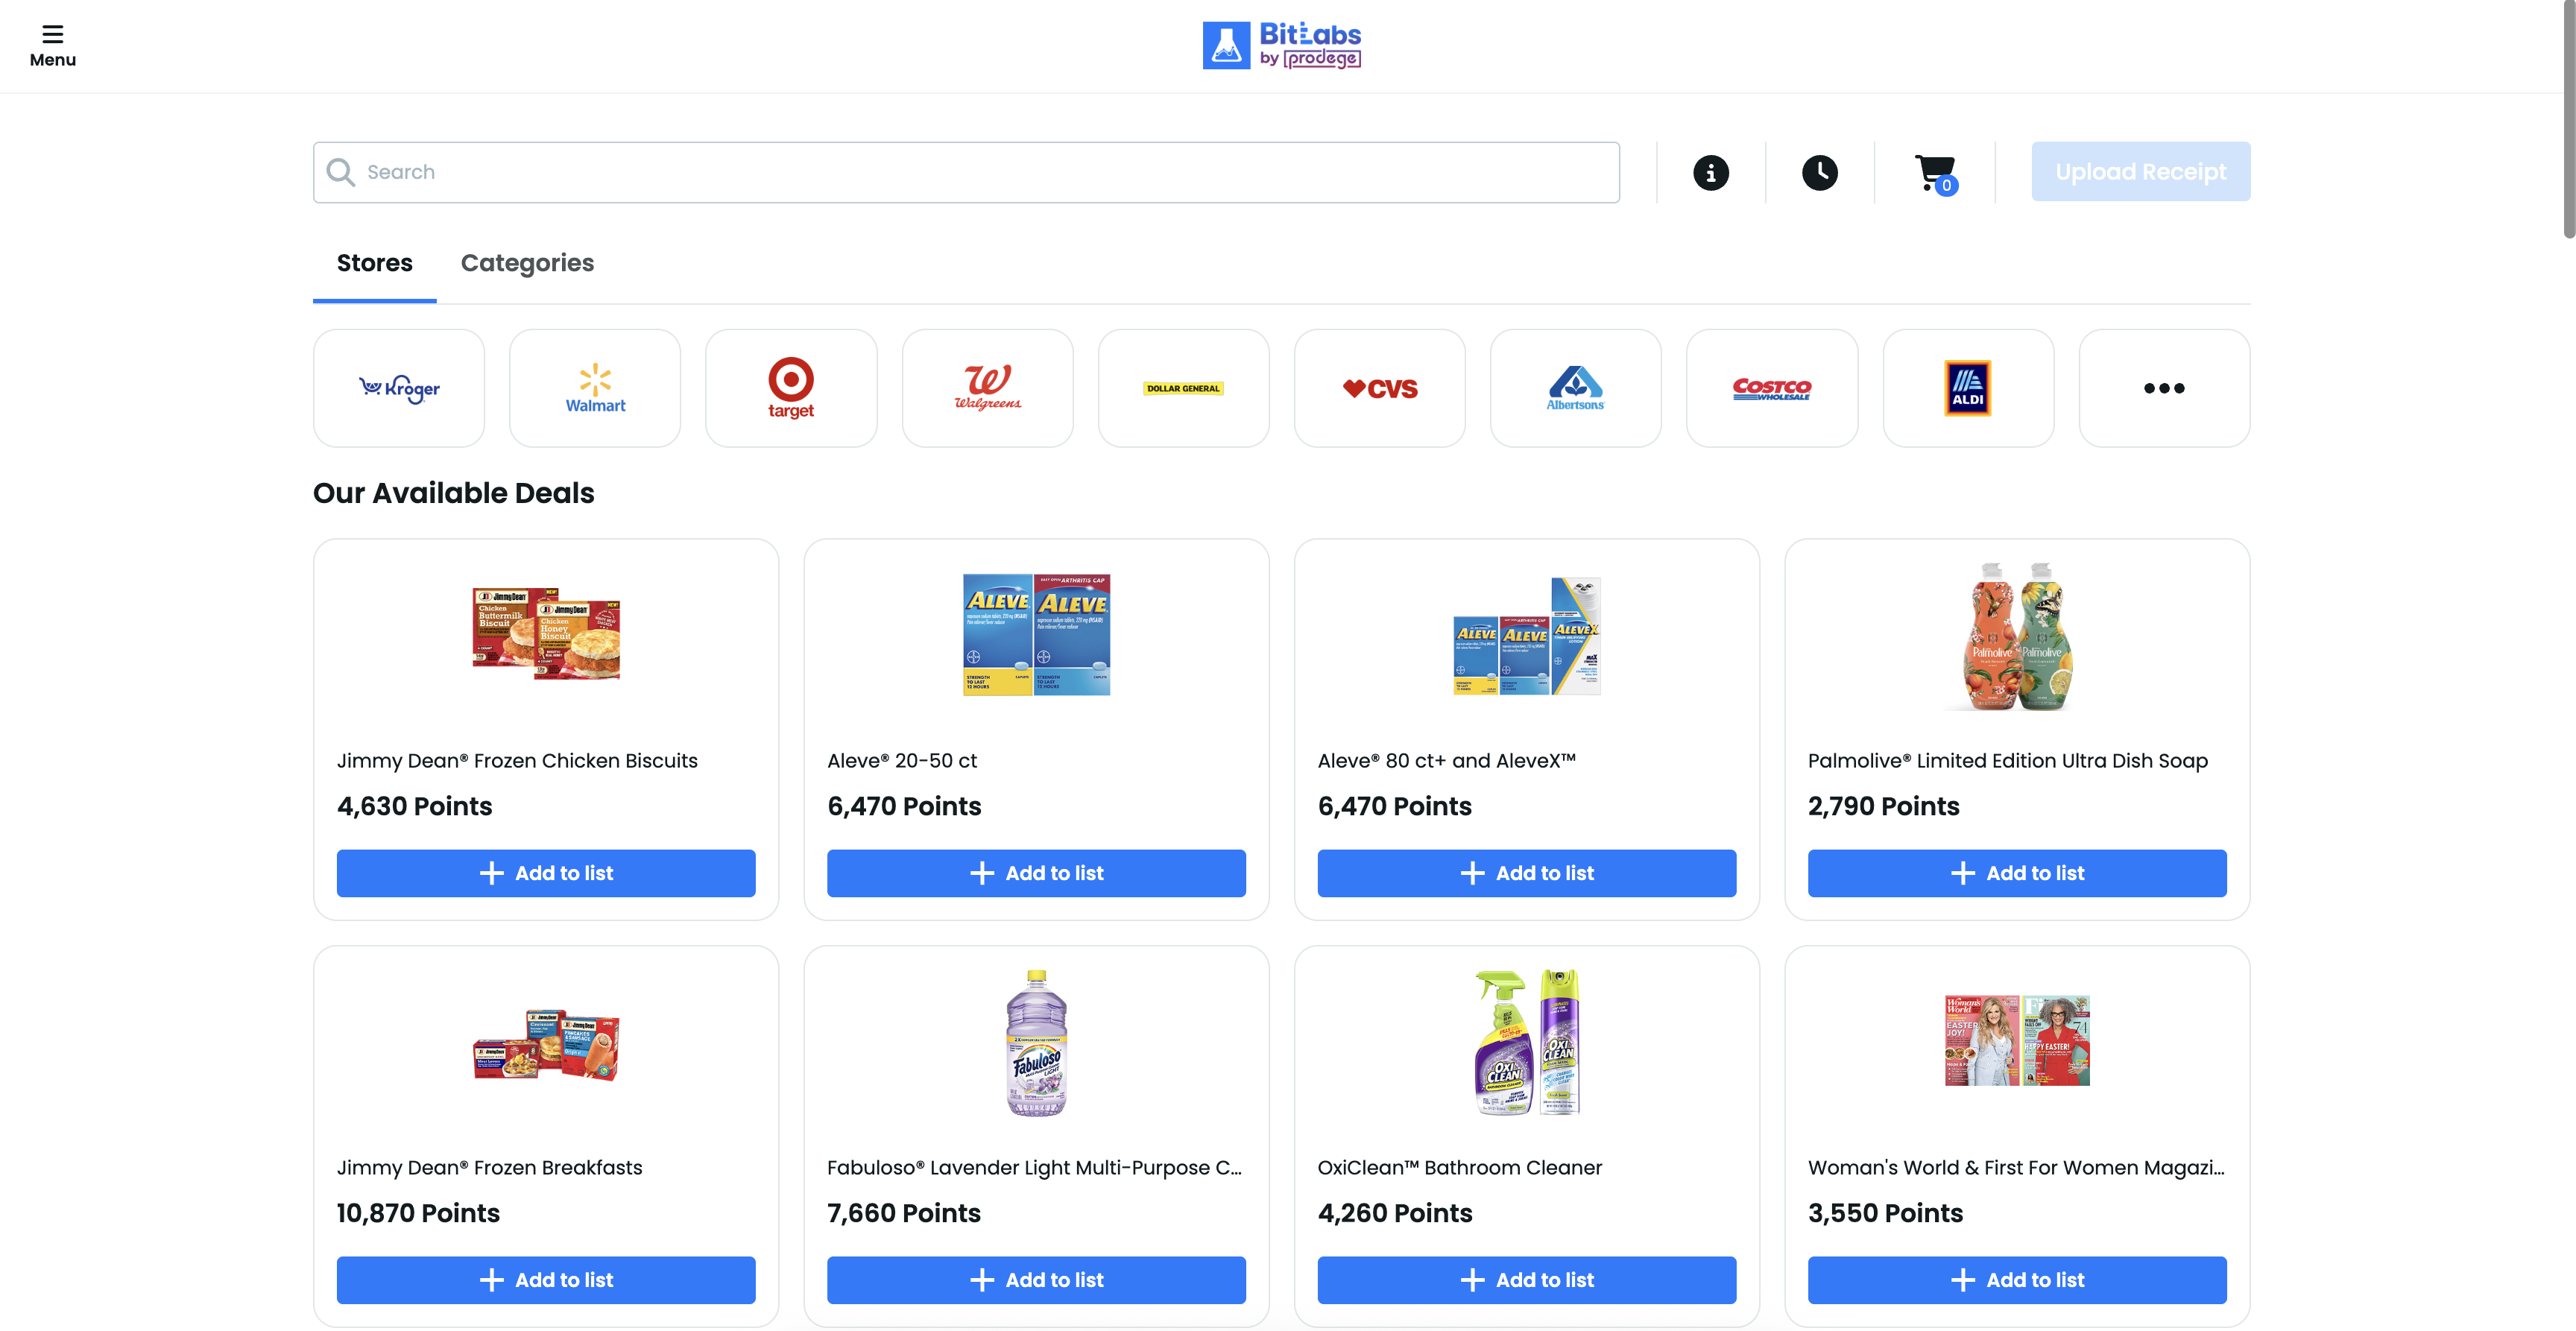
What is Magic Receipts?
Magic Receipts is a product that allows users scan receipts of their recent purchases in order to redeem rewards. It can be used as a standalone offering, or enabled as an additional offering to offers and/or surveys. Magic Receipts are currently available in the US.
How it works
In case you are not familiar with Magic Receipts, here is a guide on how users will interact with the product:
- User can browse and select a product on offer they like and add them in their List
- User can purchase the items in a qualified store
- User can upload the receipt
- The receipt will be reviewed (status callbacks will fire for the different states)
- User will earn the reward if the receipt is successfully verified (a callback will fire)
How to set up Magic Receipts
The Magic Receipts offering is automatically built into the BitLabs product and can be enabled on the Dashboard under the Magic Receipts section. Once enabled the Magic Receipts tab on the offerwall will only be visible for users from US.

Once enabled, you can visit your BitLabs offerwall: https://web.bitlabs.ai?token=YOUR_TOKEN
The token can be found on the implementation section of your app.
In case you want to exclusively display the Magic Receipts page on your offerwall, you can append the display_mode=magic_receipts parameter.
Magic Receipt Callbacks
To process the earnings of users who use Magic Receipts, callbacks will be sent to your preferred URL. If you have general callbacks already set up, you do not have to take additional action. If this is your first BitLabs integration, please read our Callback Settings documentation. We provide full transparency on all the different states a receipt can take when it’s sent for review. In order to implement the complete range of magic receipts callbacks, we would recommend to also read the Stateful Magic Receipt Callback documentation.
Callback Overview
In case you want to review which callbacks are coming in, you can visit the Integration section on the Dashboard. There you will be able to see a list of all incoming callbacks, including magic receipts callbacks. In order to see user's activity immediately, visit the “real time” tab.
SDK Set Up
The Magic Receipt feature is also available in some of our BitLabs SDKs. The following SDKs currently support Magic Receipts:
Make sure Magic Receipts is enabled on the Dashboard and the Callbacks are set up correctly. Then you can go ahead and implement the needed SDKs.
To exclusively show the magic receipts section in SDKs, you can use the display_mode tag:
BitLabs.instance.addTag('display_mode', 'magic_receipts');
Custom WebView Integration
When using your own WebView instead of the BitLabs SDK, make sure to ask the user for permission to upload and take photos. Please also test the upload button functionality.
iOS
It works out of the box, if you're using a WKWebView. Just add a Privacy - Camera Usage Description in your Info.plist.
Android
You have to implement the function to launch the Camera App and then send the photo to the WebView yourself.
Here is an example in Kotlin, provided you have a WebView called myWebView:
var tempFile: File? = null
var uriResult: ValueCallback<Array<Uri>>? = null

val chooser = this.registerForActivityResult(GetMultipleContents()) {
  uriResult?.onreceiveValue(it?.toTypedarray())
}

val camera = this.registerForactivityresult(TakePicture()) {
  if (tempFile == null) uriResult?.onReceiveValue(null)
  uriResult?.onReceiveValue(arrayOf(tempFile!!.toUri()))
}

myWebView.webChromeClient = object : WebChromeClient() {
  override fun onShowFileChooser(
    webView: Webview?,
    filePathCallback: ValueCallback<Array<Uri>>?,
    fileChooserParams: FileChooserParams?
      ): Boolean {
    uriResult = filePathCallback

    AlertDialog.Builder(context)
      .setTitle("Choose an action")
      .setItems(arrayOf("Camera", "Gallery")) { _, which ->
        if(which == 0) takePhotoViaCamera()
        else chooser.launch("image/*")
      }
      .setOnCancelListener { }
      .show()

    return true
}

private fun takePhotoViaCamera() {
  try {
    tempFile = with(File(context.cacheDir, "my_cache")) {
      if (exists()) delete()
      mkdir()
      File.createTempFile("tmp", ".jpg", this)
    }
    if(tempFile == null) throw Exception("Could not create tmp photo")
    val uri = FileProvider.getUriForFile(context, "${this.packageName}.myProvider", tempFile!!)
    camera.launch(url)
  } catch (e: Exception) {
    Log.e(TAG, e.message, e)
  }
}
You also need to add this code to your AndroidManifest.xml:
<application>
  .
  .
  <provider
            android:name="androidx.core.content.FileProvider"
            android:authorities="${applicationId}.myProvider"
            android:exported="false"
            android:grantUriPermissions="true">
    <meta-data
               android:name="android.support.FILE_PROVIDER_PATHS"
               android:resource="@xml/my_file_paths" />
  </provider>
</application>
Where xml/my_file_paths is an XML file which you need to create inside your res directory.
<?xml version="1.0" encoding="utf-8"?>
<paths>
  <cache-path name="my_cache" paths="cacheDir/" />
</paths>
And That's it!
Flutter
If you're using the webview_flutter, then the feature would work out of the box in iOS. But for Android, you need to implement it yourself.
- Add the
webview_flutter_androidandimage_pickerto your pubspec.yaml. - In the widget, where your WebView will be declared, put this code:
@override
void initState() {
  .
  .
  if (Platfrom.isAndroid) {
    final myAndroidController =
          controller.platform as AndroidWebViewController;

    myAndroidController.setOnShowFileSelector((params) async {
      final imageSource = await chooseImageSource();
      if (imageSource == null) return [];

      final picker = ImagePicker();
      final photo = await picker.pickImage(source: imageSource);

      if (photo == null) return [];

      return [Uri.file(photo.path).toString()];
    });
  }
  .
  .
}

Future<ImageSource?> chooseImageSource() async {
  final source = await showModalBottomSheet<ImageSource>(
    context: context,
    builder: (context) {
      return Wrap(
        children: [
          ListTile(
            leading: const Icon(Icons.photo_library),
            title: Text('Gallery'),
            onTap: () => Navigator.of(context).pop(ImageSource.gallery),
          ),
          ListTile(
            leading: const Icon(Icons.photo_camera),
            title: Text('Camera'),
            onTap: () => Navigator.of(context).pop(ImageSource.camera),
          ),
        ],
      );
    },
  );

  return source;
}
React Native
You can use the react-native-webview library where it will work for iOS and Android out of the box.
Magic Receipts API
Besides our iframe and mobile integrations, we also support a magic receipts API, which can be used to build your own interface around the shopping feature. Visit our Magic Receipts API page to read more about the integration.
Updated 10 months ago